
- How to build movement into drum grooves with alternating layers and doubled hits
- Why ghost fills and tiny transient details make sections feel connected
- The role swing and micro‑movement play in making a beat feel human
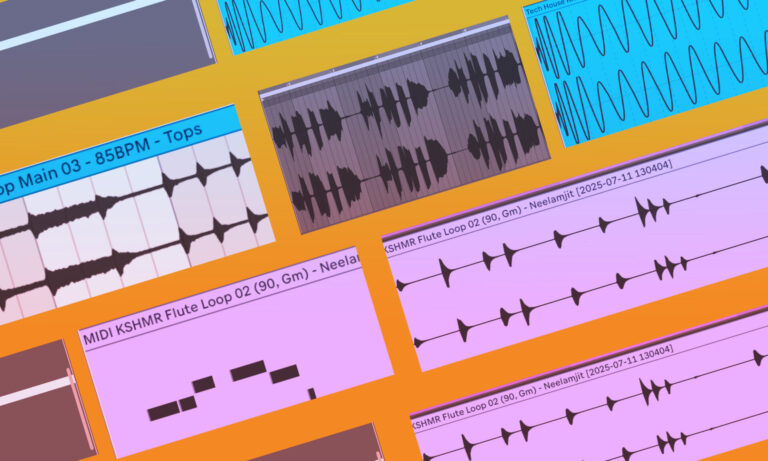
- Simple ways to rework sample loops so they feel like original takes, not recycled ideas
- Techniques for using space and stereo placement to turn static layers into moments
Overloading a track with too many drum and instrument loops makes a track as cookie-cutter as the loops themselves are (no offense to the loops, it’s in their nature). Loops are the easiest way to build a track and beef it up; yet, for many producers, every loop they use becomes another link in the chain that prevents their track from really taking off.
The secret isn’t necessarily in the loops themselves, although having the best samples in the game certainly helps. The sauce is in how you treat them. The fix is to approach samples the way you’d approach a synth patch: with TLC and an ear for how every piece can evolve as the track evolves.
This article breaks down a series of techniques for making loops and samples feel like living, breathing elements and that they’ve earend a spot in your track instead of just being lucky enough to be the Splice loop the algorithm fed you that day in hopes of turing static layers into a conversation and open the door to ideas you might never have landed on if you’d tried to program every sound from scratch.
Layering Drum Samples And Hits
Alternating Under‑Layers for Texture
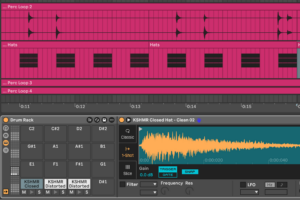
Try anchoring your drum groove with a solid main hit like a snare or an off‑beat hi‑hat, something that holds the rhythm down and feels fairly “on grid,” and then sneak in one or two softer layers that alternate underneath it. The idea is to use very similar samples, triggering them in turn so the sound shifts just enough to feel less static. It’s a subtle way to add movement and character, especially on core elements like the backbeat or off‑beat hat, where too much repetition can make things feel stiff.

This works best on parts that carry the groove, and it’s worth skipping on kick drums where consistency is more important. As a final touch, you can add a bit of modulation or processing to those softer layers, such as a slight pitch shift, a filter movement, or some mild reverb, to give the whole pattern a sense of motion and space.
Double‑Tracking for Stereo Width
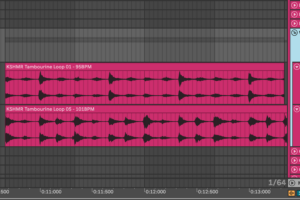
Pick two nearly identical percussive samples, such as a pair of bongos, a couple of shakers, or other instruments with a very similar character, and pan one hard left and the other hard right, and play them simultaneously. The tiny differences in timing or sample length, and the slight variations mimic the sound of a double-tracked recording, creating a natural sense of space and movement.
![]()
The key is balance.
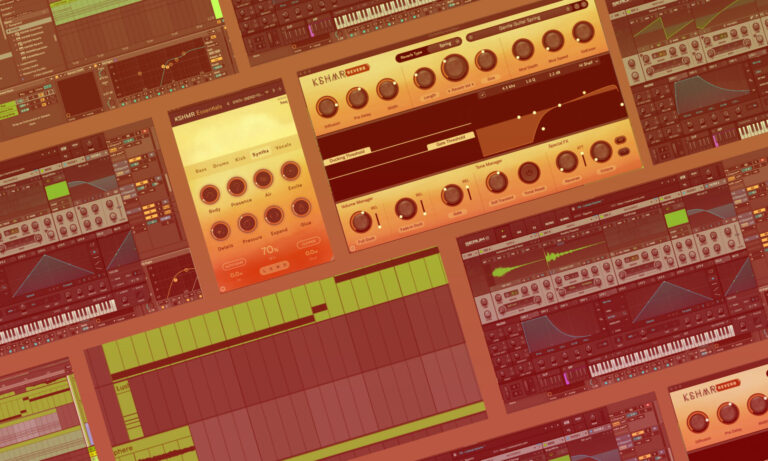
Each side needs a comparable frequency range; otherwise, one channel will dominate, and the overall sound will lean toward that side. Group the layers in a drum rack or bus, and apply the same processing, EQ, saturation, or mild compression, so the pair feels like one element. Multi-effect plugins, such as KSHMR’s Essential bundle, are ideal for this, as the specific coloration they bring makes this glue a one-click workflow.
The near‑identical character gives you the stereo effect you’re after, and the group processing adds the cohesion that makes it work as a single, focused sound.
Polyrhythmic Layers for Complex Patterns
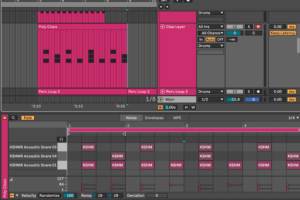
This technique builds on the ideas from the last two sections, incorporating the concept of mixing alternating layers and subtle variations, but takes it a step further. Think of it like a controlled version of round‑robin triggering. You pick three or four similar-sounding hits, often mid‑range textures like bongos or other hand percussion, and sequence them with slightly different repeating patterns.
For example, one sound might trigger every beat, another every three beats, and a third every four.
As these patterns cycle, they naturally shift in relation to one another, creating a texture that feels intricate and evolving. The loop stays predictable enough for a dance floor, but its internal variations give it a sense of depth and movement that a static one‑bar pattern can’t match.
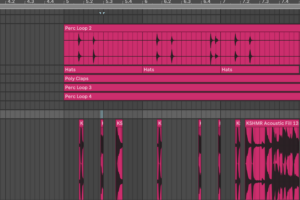
Layering Percussive Loops
Break Fills Into Ghost Elements
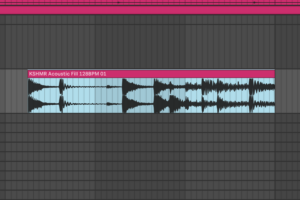
Big drum fills that land every 8 or 16 bars can sound disconnected from the rest of the beat if they only appear at the turnaround. Try pulling tiny elements from the fill like a tom hit, a flam, a tail of a snare, and drop them quietly into the main loop as ghosted or shuffle hits. These fragments tie the fill to the rest of the groove, making it feel like a natural extension rather than an interruption.
The goal is to have the fill progress over time, the way a live drummer would play it slightly differently each pass. Treat those samples, especially long fills and loops, with as much care as you would a synth patch much like what was mentioned in the intro section. Edit, splice, and process them until every piece has its place and character. It’s the difference between a beat that feels stitched together and one that breathes from start to finish.
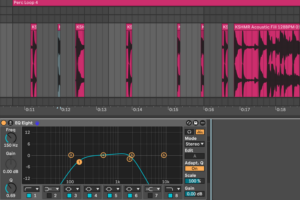
Introduce Subtle Swing Layers
Add a very quiet, swung element like a shaker or a tambourine under a straight drum loop. Even when buried, it gives the beat an elastic quality that makes longer sections feel more human and more compelling. The way multiple rhythms overlap to create a single groove that’s stronger than the sum of its parts is the subtle alchemy that makes dance music work.
The best results often come from contrast.
Keep certain elements, such as a kick or an offbeat hi-hat, tight to the grid, and introduce a bit of shuffle in the supporting layers. This slight tension between straight and swung rhythms gives the whole beat more movement and makes it work better on a dance floor.
A useful technique is extracting a swing template from your main loop, especially a shaker or hi‑hat pattern, and applying that to other supporting layers. Export the groove, then use it to guide mid‑range bongos, soft shakers, or any other textures you want to “lock” into the same feel. It’s a quick way to make all those elements work together, creating a beat that feels seamless but never mechanical.
Pro Tip: You can EQ these layers more aggressively than you would imagine. With the whole mix playing, throw on an EQ and remove as much of these supporting layers as possible so that they “feel” like what they are: ghost notes.
Reassign Transients as Textural Layers
Isolate the sharp crack of a fill or a crisp drum hit, treat it with a filter or mild distortion, and reintroduce it as a faint textural element in your main groove. This adds micro‑movement through tiny details that make the beat feel connected across sections.
Ableton’s warping tools can be especially useful here. By turning off the grid and nudging transients around, you can create unexpected grooves and textures that wouldn’t arise from a strictly quantized approach. Certain warp modes introduce their own artifacts like odd, dense textures that can add character when used intentionally. If you land on a pattern you like, consolidate it with Command + J and export the swing as a groove template.
You’ll be surprised how often these “happy accidents” evolve into a feel you can use across an entire track.
Layering Instrumental Samples
Rework Loops into Fragments for Fills and Accents
Here’s a short and quick workflow for you!
- Grab a loop you like
- Chop it into one‑shots or short riffs
- Re‑sequence those slices to fill spaces in your main riff.
This technique creates accents that feel connected to the core groove while adding depth and movement. You can push it further by tweaking pitch, filter, or envelope settings (by ‘envelope,’ I mean adjusting the volume slopes in the audio clip) so that no two hits feel identical.
It’s an extension of the fill‑ghosting approach, but applied to instrument layers!
By slicing, processing, and even re‑stretching sections of a sample and making moments longer or shorter, which then makes a loop sound like a completely different take by the same player. It’s a quick way to get a lot of mileage out of a single recording, filling a track with details that support the main melody or lead line.
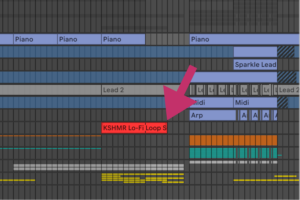
Break the Formula with Instrumental Reset Layers
If a breakdown feels too sparse or predictable, consider adding an instrumental loop that shifts the focus away from the main lead or arpeggio. Treat it like a solo moment — a temporary reset that refreshes the listener’s attention before the track builds back up. Sometimes, even just a single cycle of a 4 or 8 bar instrument loop is enough to create this effect; the fact that the “loop” never loops can help make it feel more like a moment anyway!
You can deepen this effect by automating reverb or delay, or even “freezing” it in place, turning the part into an atmospheric bed that fills space and sets up the next section.
Too many producers, especially early on, approach breakdowns with a formulaic mindset — stripping everything out and relying solely on a riser to carry energy into the second drop. That works on a functional level, but it leaves ample room to add depth and character.
Sometimes, all it takes is a well‑chosen melodic loop to create a shift in mood, making the return of the core elements feel more substantial and more impactful. It’s an easy way to add a sense of narrative to the track and give listeners a reason to stay engaged until the final drop.
Conclusion:
Treating samples and loops with the same care you’d give a synth preset or a stack of instruments is how you get more out of less. The techniques we covered, like alternating layers, ghosting fills, reshaping transients, introducing swing, and automating movement, all point to one thing: making each sound feel like it has a role, a character, and a reason to be there.
If you’re looking for a starting point, check out the new KSHMR sample pack!
It’s packed with textures and loops that can be molded and reshaped until they fit seamlessly into your own ideas. Treat those samples with the same precision you’d apply to a synth patch and you’ll find yourself generating ideas you might never have landed on if you’d tried to write every part from scratch.


One Comment