- How sound design sets your track up for success
- Why saturation is so essential
- Controlling the dynamics
- Life through modulation
- Why automation is half the battle
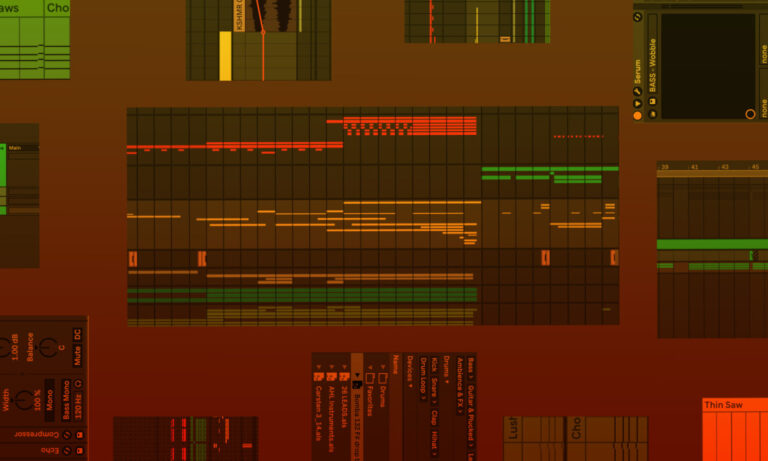
- MIDI Voicings = Sound design?!
- Never forget to limit (when necessary)
Getting a synth group to hit with that big, festival-ready punch takes more than just layering a few presets. It’s about building each layer with intention so that the best parts of each synth have room to be heard, and everything else is left on the cutting room floor.
In this article you’ll learn step-by-step techniques to turn a basic synth loop into a polished, expressive element that drives your track forward.
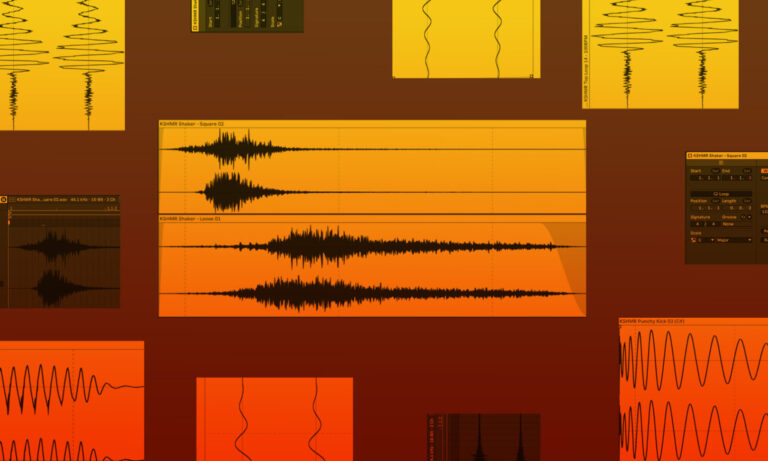
1. Building a Strong Foundation with Thoughtful Sound Design
Starting with a powerful source sound right from the synth is crucial for a smooth workflow through every following step. While complex processing chains and plug-in sequences have their place, the real groundwork comes down to a great source sound. By “source sound,” I’m talking about a solid starting tone—whether that’s one synth or a couple layered together. Going beyond two or three layers, though, often just muddies the mix.
For best practices, avoid stacking sounds that are too similar or, worse yet, identical while layering.
For instance, don’t stack two supersaws from Serum if you want a massive supersaw. Instead, aim for layers that complement each other, blending distinct timbres that work like puzzle pieces. This approach compounds the punch, uniqueness, and effectiveness of the sound.

The snappy amplitude envelope should cut through the mix nicely

Notice how the supporting synth’s amp envelope swells as the main synth’s fades?
Pro tip: Pay attention to the envelopes of each layer. Pairing a plucky, attack-heavy sound with a slower-attack one allows them to fit naturally like puzzle pieces. How each sound moves over time directly impacts the groove. For example, if a main layer has a long decay, it could drag down the groove, while an overly punchy layer might feel too snappy against the drums and bass that come in later.
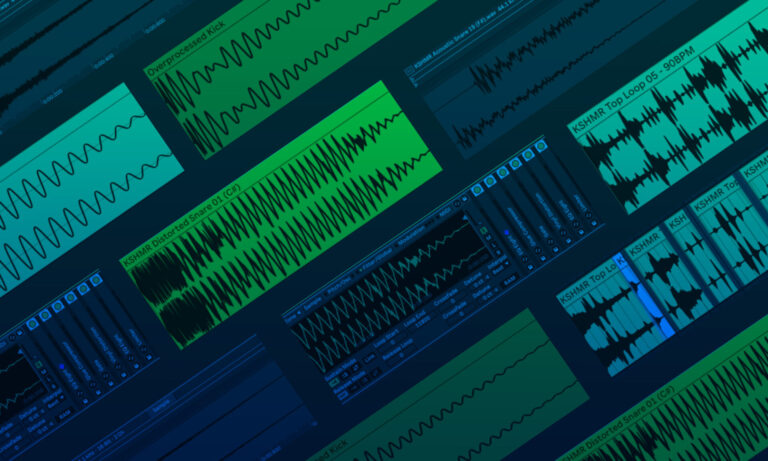
2. Saturation, Warmth, Distortion, And All Of The Above

Using an instrument rack in Ableton allows both layers to be mixed and automated as a single instrument
After layering your synths to get a source sound that stands strong, it’s time to move into the real fun—processing that sound for a huge, radio-ready edge. The first step? Add some analog warmth to your likely digital-sounding source. Assuming you’re working with plug-ins like Vital, Serum, or similar digital synths, saturation and distortion play a big role in beefing up digital sounds so they’re as rich and full-bodied as their analog counterparts.

Stacking multiple saturation points in your chain gives you finer control over warmth and grit
Instead of using a single saturation or distortion plug-in, try layering a few different ones to create a richer texture. Each saturation effect—Decapitator, Saturn from FabFilter, or the Ableton Saturator—has its distinct way of coloring the sound. Layering multiple plug-ins can create a unique, complex profile. For example, start with Ableton Saturator at 10-15% to set a subtle base, add a touch of Decapitator at around 20%, then follow with another saturation or coloration plug-in.

A little bit of grit goes a long way!
Each layer contributes its own character, so the combined effect transforms typical sounds—saws, square waves, or even more digital patches—into something rich and far from generic.
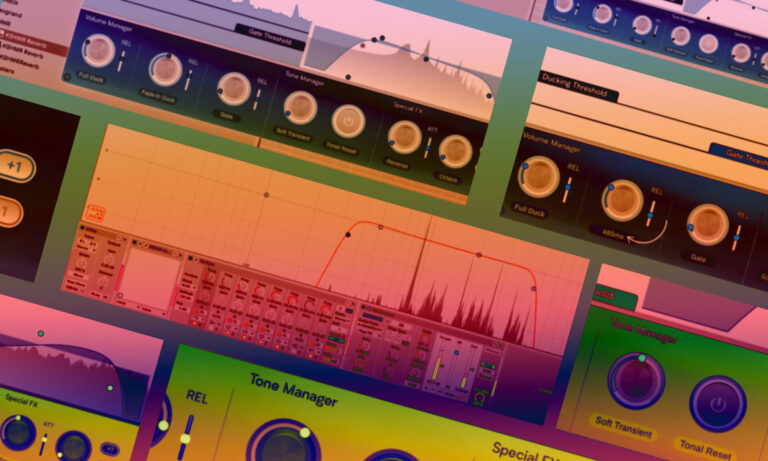
3. Dynamics Control + Making Sense Of The Madness
Now that you’ve got a full-bodied, warm, maybe even gritty sound, it’s time to get it under control. You’re likely dealing with the extra low-end rumble, overly sizzling highs, or resonant frequencies that need taming to prevent the sound from clashing with other elements. A digital EQ—like Ableton’s EQ8 or FabFilter’s Pro-Q3—are perfect at this stage.

Most channels in your mix don’t need super highs or ultra lows. Cut them by default or set up your channels to load with an EQ handling it automatically
Start by making precise EQ cuts to remove unwanted low end that could interfere with your kick or sub bass, and dial back those overly bright highs to reduce any harshness introduced by distortion. Keep the warmth of the upper midrange while ditching the brittleness. This EQ stage is essential for cleaning up the sound and leaving only what enhances the track.

Remove resonances early—compression, reverb, and other processing will only make them more ear-splitting later
Next, focus on removing resonant frequencies that may have emerged from layering synths or from the interaction of different patches. This step is crucial, especially with compression up next. Compression will amplify all remaining frequencies, and any leftover resonant peaks will only become even more noticeable.

Compression adds glue, weight, punch, and volume control
Once the sound is clean, use compression to glue everything together gently. You don’t need heavy gain reduction here—a few decibels are often enough to blend the frequencies smoothly. Compression can add that final touch of cohesion without squashing the dynamics.
Pro Tip: Not all compressors are created equal. There’s a noticeable difference between analog emulation compressors and standard digital compressors, such as most stock compressors. Analog emulation compressors respond to input gain and add a unique color to the sound, often enhancing warmth or grit. They might be great for driving upper mids and highs to make lead synths, vocals, or drums stand out.

Know the difference between analog emulation and digital compression—it’ll make a big difference in your mixes
4. Modulation & Space
So far, we’ve worked to create a solid, controlled sound that’s punchy, gritty, bright, and ready for anything. Now comes the part where we get creative. With a strong, dry source, you can start layering on modulation and spatial effects to give it life and dimension. Adding modulation like chorus or phaser can inject a retro feel, while delay adds rhythm and subtle timbral changes over time.
This is where the detailed prep pays off.
All the meticulous steps—like removing resonant frequencies—ensure that there aren’t any harsh spikes that could build up and overwhelm the mix when reverb and delay are applied. A resonant spike that wasn’t addressed earlier would only become more pronounced as it’s multiplied by these effects, disrupting the clarity and balance of the sound.

Reverb can help fill in the space with interesting movement, color and texture
Using spatial and modulation effects thoughtfully brings a sound to life and can fill the mix in surprising ways. With the right combination of these effects, there might be less need for additional elements like counter melodies or atmospheric pads. Your spatially rich lead can effectively fill that role, creating a full, engaging mix without extra clutter.
This approach gives you “more out of less”—a powerful concept in production. By maximizing the potential of each element, you achieve a dense, layered mix without overloading it with sounds.
5. Automation Is Key
Most music made on computers today is loop-based—hip-hop, modern dance, pop. The art of production is about stacking, layering, and shaping these loops into something cohesive. One of the best ways to bring this to life is with automation. New producers often get stuck with static sounds that just play out and drop off. Automation changes that, breathing life into a track and making it feel dynamic.
Start with basics like filter cutoff and volume automation to introduce elements gradually. But don’t stop there. Advanced producers use multiple synth parameters to create sounds that evolve, shifting the energy until they build to that final drop or chorus. Push past the basics—try playing with envelopes and changing envelope lengths. Maybe your lead synth starts with a tight decay and no sustain, then gradually opens up into a massive driving line.
Reverb is another tool that goes beyond adding size; it’s a way to control depth. Instead of using filters to push a sound to the back, try adding reverb to set it further back in the mix, then reduce it over several bars to bring it forward. This approach builds motion and depth, keeping the mix fresh and pulling the listener through the track.

The configure button is a quick way to note which parameters sound amazing when automated
Pro tip: During the sound-design stage, experiment with different parameters and see how expressive it makes the sound. Map the best ones to macro knobs to easily reference and remember during the automation stage. Things like detuned amounts, pitch, FM amounts, and portamento are all exciting ways to change a sound over time and make it more lifelike.
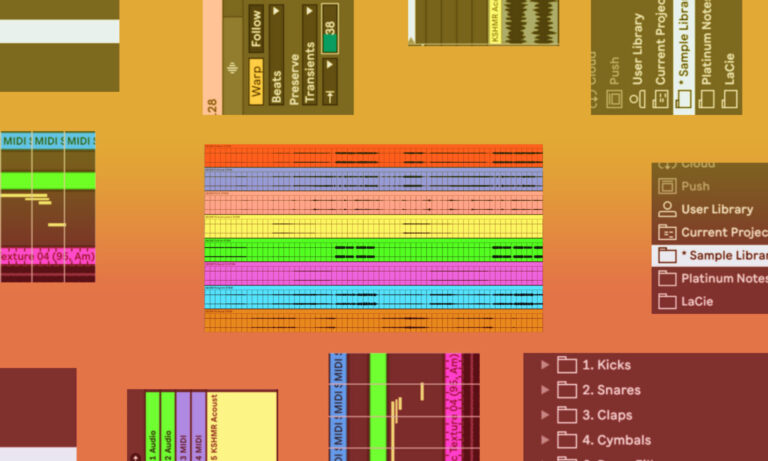
6. Melodic Voicing
When building a song from an initial loop, it’s easy to copy and paste that loop across the track, making minor edits here and there. While this approach works when starting out, it can eventually hold you back and even make it harder to mix down your music.
This is especially important for supporting elements like chord plucks, pad lines, and background arpeggiators. Just because a melodic layer or chord voicing is complete and complex during one part—like a breakdown—doesn’t mean it has to stay that way in the drop or climax.


The low notes on the pad are removed during the drop, creating natural space for the bass
For example, if you have a chord triad in the buildup with a supporting bassline coming in at the drop, try removing the root note of the MIDI chords when the drop hits. When the bassline kicks in fully, your chord’s root won’t overlap and muddiness, keeping each layer clear and defined.
This technique tightens up the mix and reduces that “looped” feel.
Adding subtle variations keeps the listener’s attention, making the track feel constantly evolving rather than recycling the same patterns. Minor adjustments like these make your music sound cleaner, more professional, and more dynamic, creating the sense of a story rather than a static loop.
7: Limiting (Optional)
The openness of a filter, decay length, and the duration a sound holds in the mix all influence its perceived volume. If you’ve opened up the filter beyond its original design setting, additional dynamics processing may be needed to control it, and a limiter can help with this.
You have two primary options for limiter placement in your mix chain. The first option is to place the limiter immediately after your compressor but before any spatial effects like reverb and delay. This setup ensures that your ADSR envelope changes or filter sweeps hit the limiter first, capping the sound’s peaks before spatial effects come in.
Alternatively, placing the limiter after reverb and delay brings those effects forward, giving them more presence even in dense mixes. With this approach, the limiter lifts the reverb and delay tails, making spatial effects more prominent. The choice ultimately depends on how much you want these effects to stand out.
Final Thoughts
With these techniques dialed in, your synths should feel alive, hitting with that big, radio-ready edge that doesn’t just sit in the mix but commands it. From layering right at the source to fine-tuning dynamics and getting creative with modulation, every step adds purpose to the sound. Don’t be afraid to let each layer breathe, and use automation to keep things evolving naturally.
It can be risky to throw paint (AKA plug-ins) on a sound and hope for the best. It all comes down to intentional moves and additions that work towards the end goal of having a sound that’s as punchy as the artists you look up to.